Today I have a new explosion box to share with you all. This is a fairy themed explosion box to celebrate wedding anniversary and it is loaded with 40 picture mats and 8 journaling tags to cherish memories.


This box measures 6.5" by 6.5" by 6.5' and has 3 layers. I have used a lot of mixed media techniques to decorate this box. Most of the flowers and embellishments came from ItsyBitsy and Papericious while the papers are from Eno Greetings.

 I wanted to give this fairytale romance kinda feel to this box so I opted for the papers which had a Parisian feel to it and had a lot of images of Eiffel tower and roses in it. Fairies added the required whimsy to complete this project which came from the new Fairy Sparkle collection from ItsyBitsy.


Most of the flowers are also for the coordinating paper collection and they are just amazing.


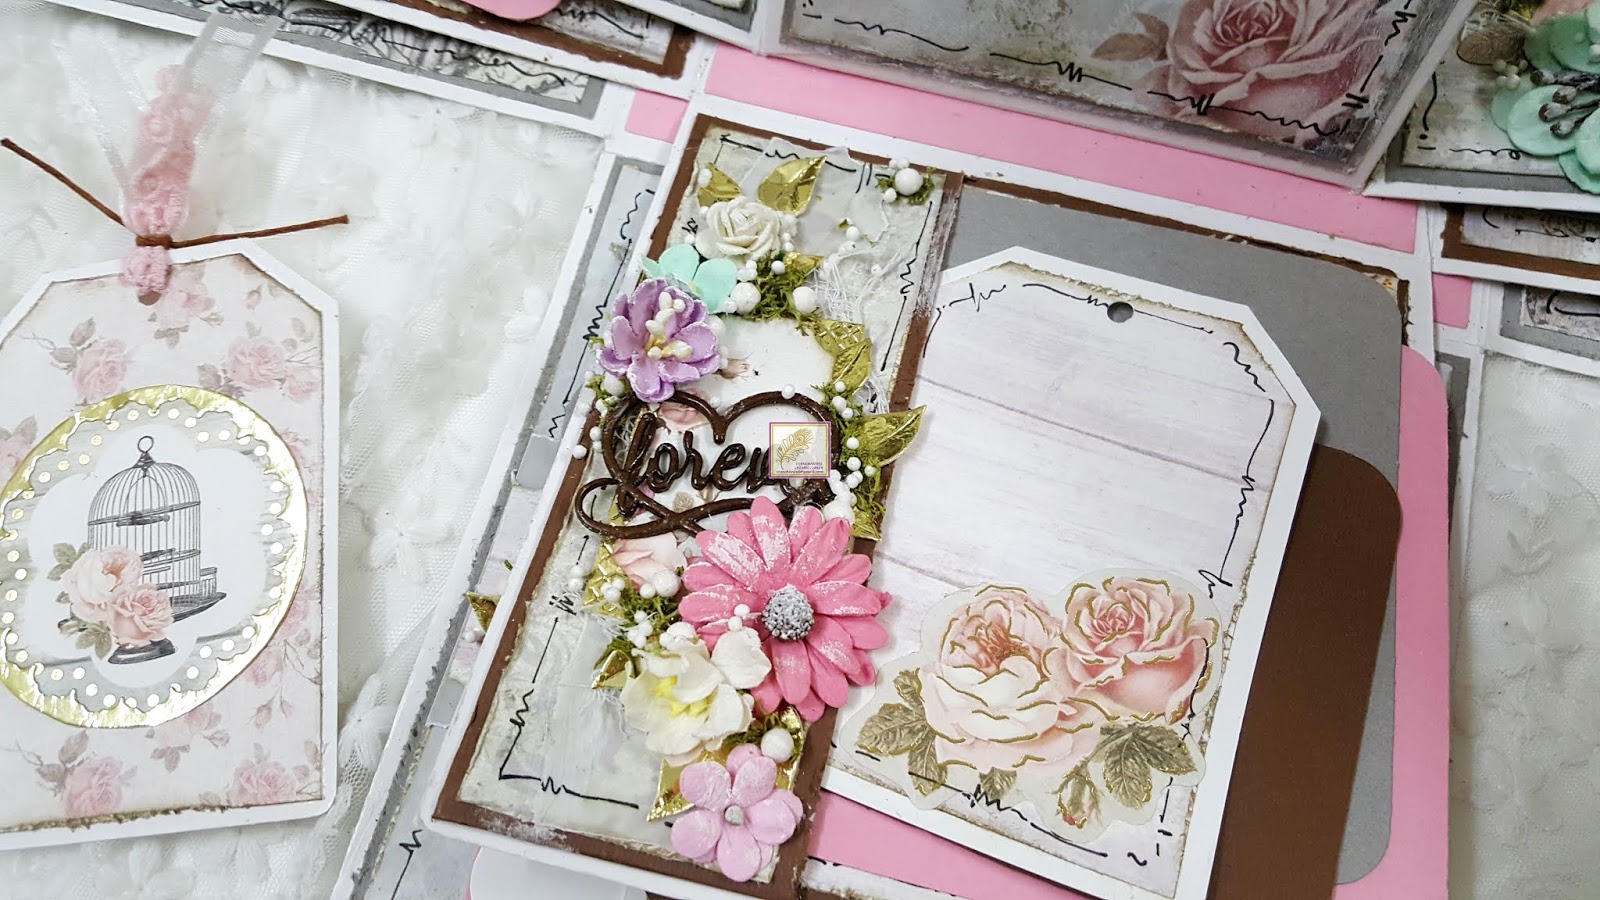
On the lid, I did a lot of layering with papers, gold foiled cardstock and them chipboard background embellishments. It was pretty just as is,,,but I added flowers and leaves to complete the look with the fairy and sentiment. Each and every layers and side is dry brushed with gesso to bind it all together.....even the papers have some touches of gesso and some stamping with distress oxide inks.


On the inside, the main decor element is a handmade archway adorned with fairies. The Archway is made with thermocol and cheesecloth....painted with acrylic colors. The pebbles are made from paper clay and the entire structure is adhered with heavy gel medium with strategic placement in made such that the structure remains stable and strong.


Every layer on the inside has intricate details and I tried my best so you can see it on camera...but the pictures however do not do justice to this beautiful piece. These is lot of pebbles and moss that I have used to add the touch of garden along with flowers and leaves. The Faux stitching is my favorite technique and I love the way it adds more texture to this project.


I have a video to show this project much better and I recommend you to watch it.
I am putting this project up at the following blog challenges:
 I hope you like this project because it is very dear to me. Thank you so much for stopping by.
- Allsorts Challenge Week 535 - Soft Pastels - My entire project has soft pastels uses except for neutral color of brown.
- Creative Artiste Mixed Media Challenge 50 - Anything Goes
- Mini Album Makers - June challenge - I have a explosion box album that I want to enter in this challenge.


