VREnchanted is an art and craft blog. Here, we share tutorials as well as craft project ideas and I hope you will like them. Some of the projects include scrapbooks, mini albums, handmade cards, gifts boxes, 3D projects, Mixed media layouts, Photo frames and more.....
Hello guys
Today I have a project which I made for Itsybitsy blog as a DT inspiration using their new Watercolor floral ballet papers..... I have a Desk Calendar for you all which is very floral and girly. To know more about this project and to read a tutorial please click the link HERE.
Here I have a few sneak peeks of this project....Hope you like it.
Hello guys
I recently had someone elderly woman come to me with a request to make a few coaster for her to gift her elders visiting her after long time but she wanted something toned down. So immediately I thought to make vintage looking coasters. But I had nothing in my stash that was vintage looking......but whats the fun if we have everything handy and have to make effort in creating something........
So I used old map printed tissue papers whcih has leaning tower of pisa on them. I had bought these long time ago from A1 craft supply and forgotten about them. If you do not have something like this, use old maps from text books and picture of any wonders of the world for the same effect.
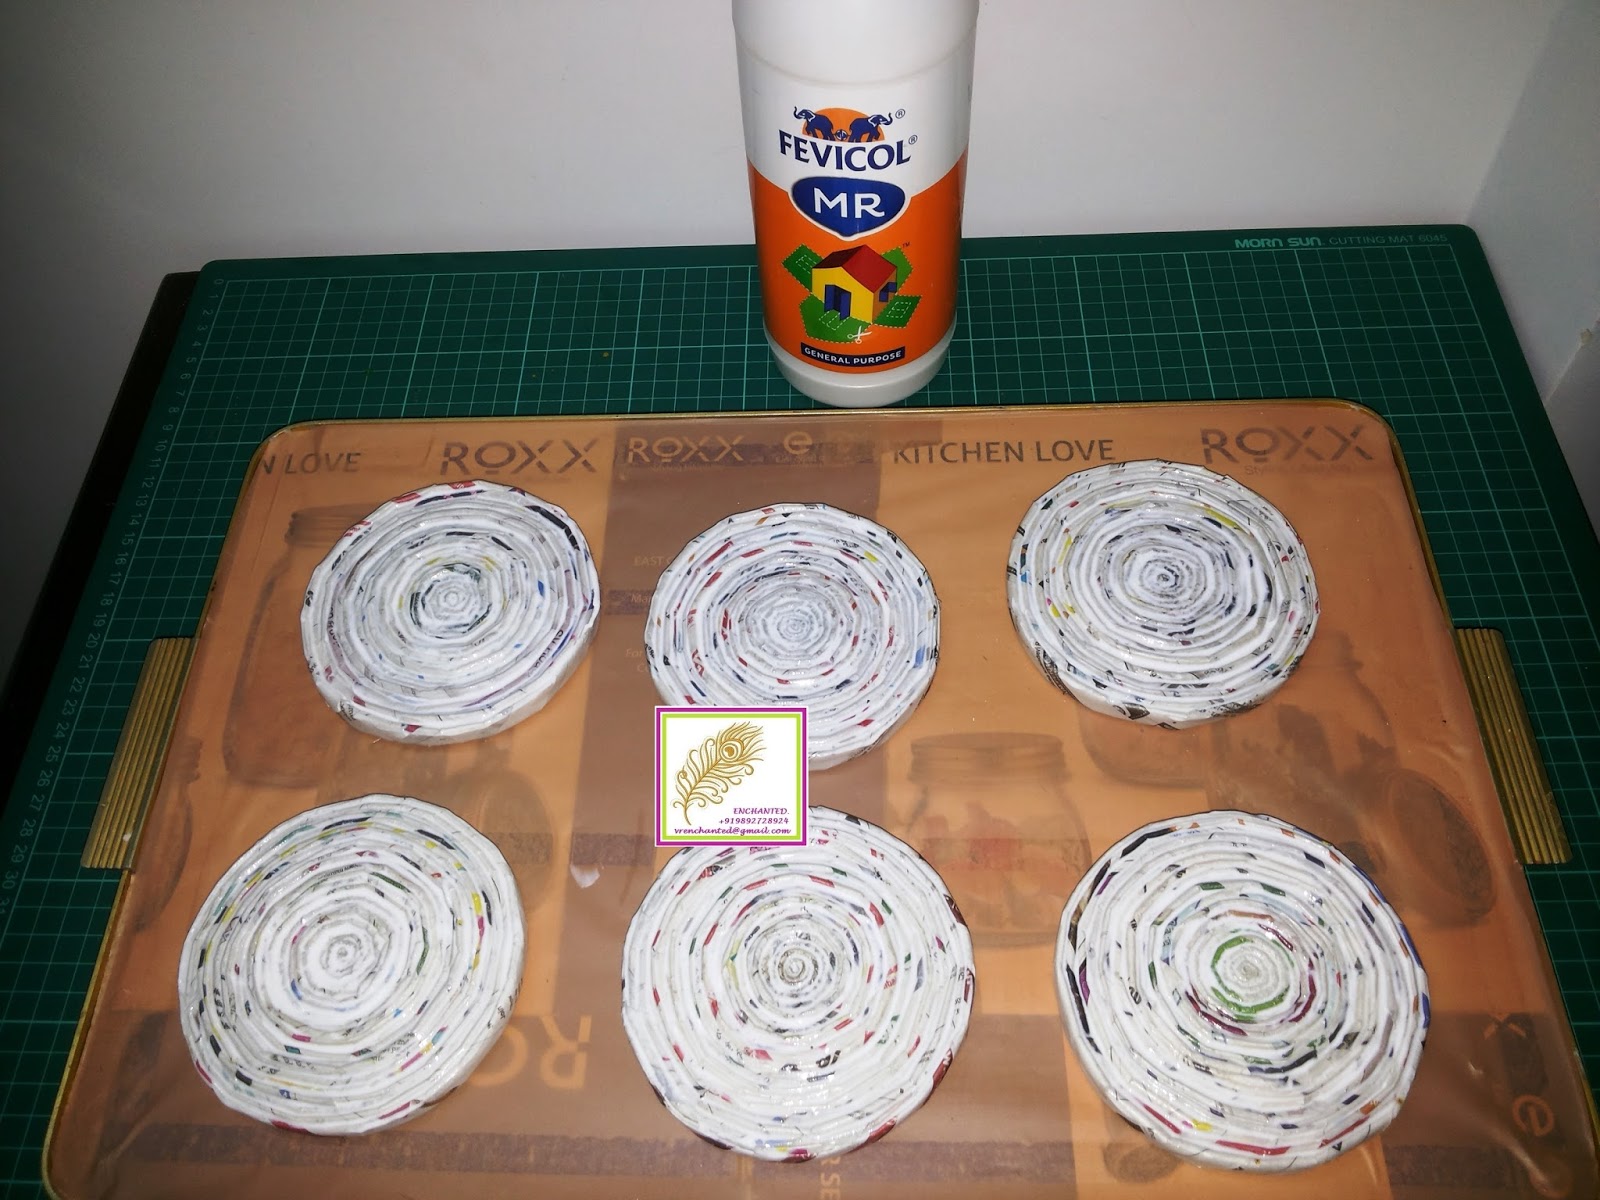
I started coiling my newspaper tubes as tightly as I could to make circular coasters and I made a bit big- 11 cm so they could even use it for soup bowls as well as tea cups and mugs. Then I gave the coasters a good wash with white adhesive on both the sides and allowed thorough drying.
Once I was sure that they were hard dried, I added a mountboard base and a strip around the coaster. For more details please refer my earlier blog post "Newspaper Coasters". I used a 5.5 cm radius base and 1.5 cm stip which was approximately 32-33 cm. Now the measurements will vary depending on the size and thickness of your coasters. To make the coasters very old, I peeled the white paper over the mountboard on one of the coasters. So here onwards, you will see 2 different looking coasters.
Now, I started to decoupage the coasters with the tissue paper using Mod Podge gloss. Once The first layers dried, I used Memento Rich Cocoa dye ink and a blending tool to give the coaster a vintage look. I added ink on the backside where the newspaper was visible, on edges as well as the face of the coaster. That's all we have to do to make it look vintage. Now add few more coats of mod podge while giving time for drying between coats. Make sure you add the glue on both sides....so did the face first and then I did the back.
Our coasters are ready, if you want you can add a few coats of varnish to it or use Mod Podge outdoor to make it waterproof.
Sorry about the quality of the video. I hope you all liked these coasters and try to make them also......thanking for visiting my blog. Have a great day......