Showing posts with label happy anniversary. Show all posts

Monday, 24 June 2019

Anniversary Explosion Box | Fairy Garden | Wedding Anniversary Gift

Hello guys
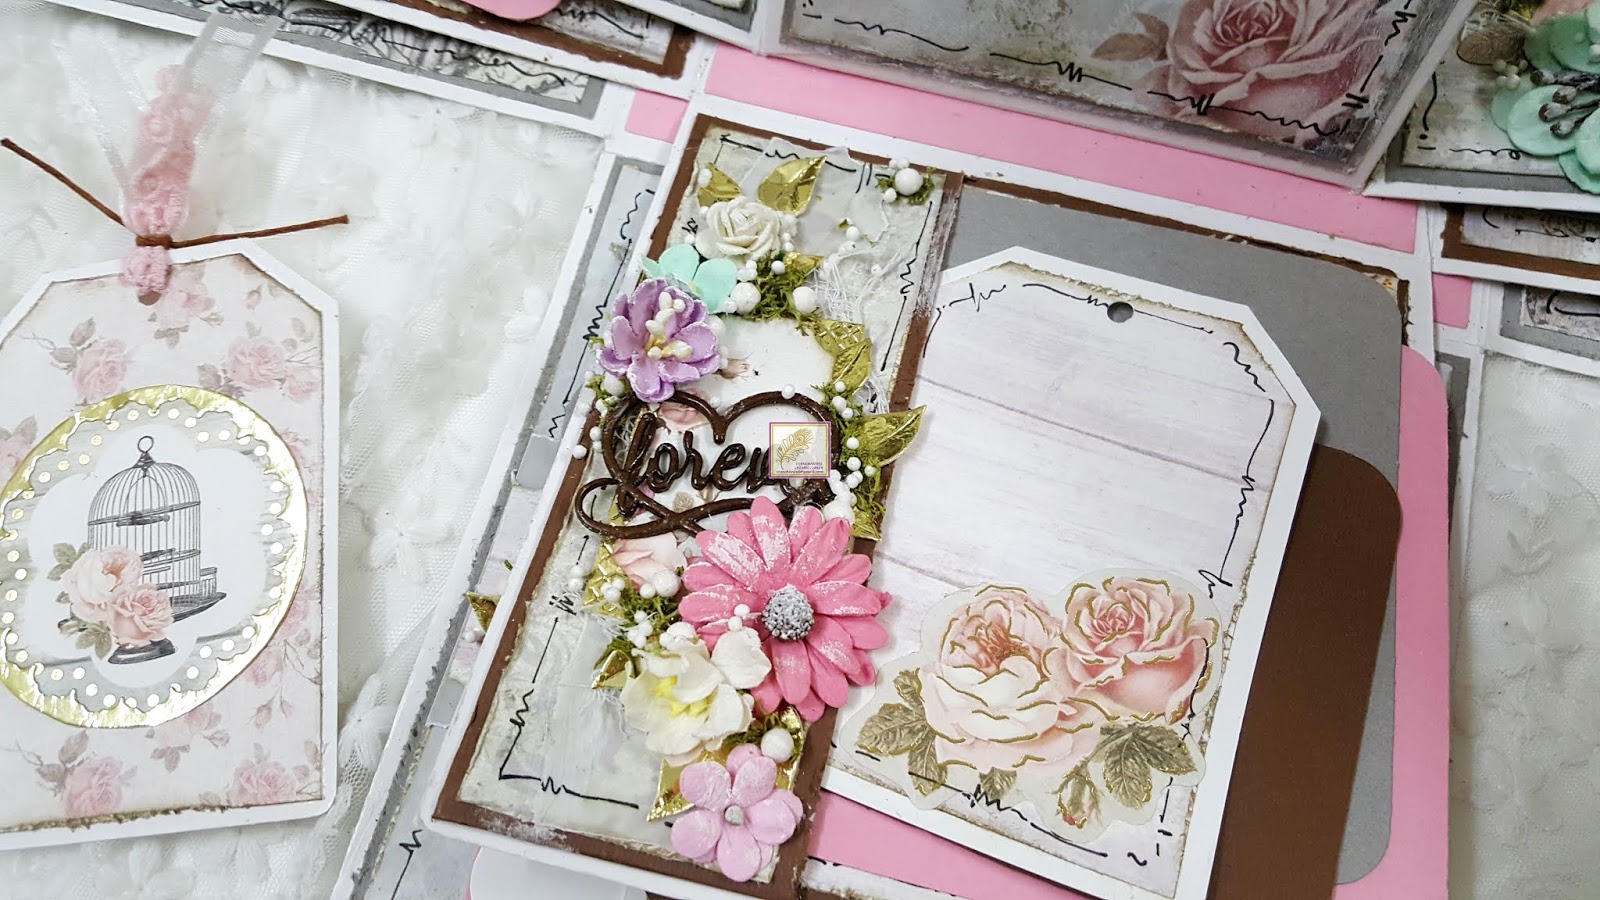
Today I have a new explosion box to share with you all. This is a fairy themed explosion box to celebrate wedding anniversary and it is loaded with 40 picture mats and 8 journaling tags to cherish memories.
This box measures 6.5" by 6.5" by 6.5' and has 3 layers. I have used  a lot of mixed media techniques to decorate this box. Most of the flowers and embellishments came from ItsyBitsy and Papericious while the papers are from Eno Greetings.

 I wanted to give this fairytale romance kinda feel to this box so I opted for the papers which had a Parisian feel to it and had a lot of images of Eiffel tower and roses in it. Fairies added the required whimsy to complete this project which came from the new Fairy Sparkle collection from ItsyBitsy.
Most of the flowers are also for the coordinating paper collection and they are just amazing. 

On the lid, I did a lot of layering with papers, gold foiled cardstock and them chipboard background embellishments. It was pretty just as is,,,but I added flowers and leaves to complete the look with the fairy and sentiment. Each and every layers and side is dry brushed with gesso to bind it all together.....even the papers have some touches of gesso and some stamping with distress oxide inks.

On the inside, the main decor element is a handmade archway adorned with fairies. The Archway is made with thermocol and cheesecloth....painted with acrylic colors. The pebbles are made from paper clay and the entire structure is adhered with heavy gel medium with strategic placement in made such that the structure remains stable and strong.


Every layer on the inside has intricate details and I tried my best so you can see it on camera...but the pictures however do not do justice to this beautiful piece. These is lot of pebbles and moss that I have used to add the touch of garden along with flowers and leaves. The Faux stitching is my favorite technique and I love the way it adds more texture to this project.



I have a video to show this project much better and I recommend you to watch it.
I am putting this project up at the following blog challenges:

  1. Allsorts Challenge Week 535 - Soft Pastels - My entire project has soft pastels uses except for neutral color of brown.
  2. Creative Artiste Mixed Media Challenge 50 - Anything Goes
  3. Mini Album Makers - June challenge - I have a explosion box album that I want to enter in this challenge.
I hope you like this project because it is very dear to me. Thank you so much for stopping by.

Wednesday, 18 January 2017

Handmade Turquoise Gift Box with Tags

Hey everyone
How are you all doing this week....I am back with a new project today and it is a gift box with 4 pretty tags. Now this gift box is inspired by my earlier project which was Baby Girl Mini Album and Tag Box. Now, I had included a similar box in the project which could hold 12 tags but was very shabby chic and in shades of pink. So, I have tried to replicate the same box but in the shades of turquoise, sea greens, violets and blues. I really loved the outcome of this one and I hope you guys will also like this. 
I am putting this project up at Scrapping4fun challenge #83.

This box is actually 8 1/4"x 51/4" in size. The internal box is 73/4"x 43/4" with 2"thickness. I have used a lot of mulberry flowers, sequins, Twinklets diamond dust, Glitter, doilies, twines, distress inks, modelling paste, pearls, stencils and laces.


The supplies used for this project are mainly from Itsybitsy. They sent me a free haul and I have used everything they sent me this time because it arrived just at the time of making this and watever they sent me just matched with the project. 

So here is the list of supplies used for the box:
1 Chipboard (Kraftily Konnect)
2 Turquoise handmade paper (Itsybitsy)
3 White handmade paper (Itsybitsy)
4 Yellow satin ribbon (Itsybitsy)
5 Modelling paste ( Selfmade)
6 Doilies ( A1 craft supply)
7 Silicon glue (Itsybitsy)
8 Pearls (Itsybitsy)
9 Birdcage charm (A1 craft supply)
10 Vellum and other cardstocks (Itsybitsy)
11 Mulberry flowers (Itsybitsy, Nikita more, Kraftily Konnect, A1 craft supply, crafters corner, local stores)
12 Resin flower (The craft shop)
13 Sequins ( local stores)
14 Twinklets diamond dust ( The craft shop)
15 Stencils (Itsybitsy)
16 Distress inks: Peacock feathers, mermaid lagoon, Shaded lilac ( Crafters corner)
17 Glitter (A1 craft supply)
18 Sentiments are from Kaiserkraft (A1 craft supply)
19 Versamark embossing pad and heat gun (Itsybitsy)
20 Black embossing powder: Wow (Itsybitsy)
21 Wink of stella (Itsybitsy)
22 Pattern papers used are from Paperiious and Eno Greetings.
23 White adhesive

So here is the list of supplies used for the tags:
Mulberry flowers (Itsybitsy, Nikita more, Kraftily Konnect, A1 craft supply, crafters corner, local stores)
2 Stencils (Itsybitsy)
3  Silicon glue (Itsybitsy)
4  Doilies ( A1 craft supply)
5 Stamps and sentiments from Kaiserkraft
6 Twinklets diamond dust ( The craft shop)
7 Cardstocks (Itsybitsy)
8 Crochet lace and satin ribbons (Itsybitsy)
9 Eyelets (Itsybitsy)
10 Flourish diecut from MFT
11 Sequins ( local stores)
12 Ephemera from Eno greetings
13 vellum (Itsybitsy)
14 Handmade flowers (Itsybitsy)
15 Chipboard numbers (Itsybitsy)
16 Distress inks Peacock feathers and shaded lilac
17 modelling paste (Self made)
18 Butterfly diecut( Sizzix)
19 White adhesive

Please grab a cup of coffee or teas as now its time for pictures....and lot of them. At the very end I have added the link for the video walkthrough of this project. There are 2 videos showing first the box and the tags in the seconds. I hope you all will like these videos and pictures.


Youtube video: Part 1

Youtube video: Part 2
I hope you guys liked my project. Thank you all so much for visiting me. Till the next time....keep smiling....