VREnchanted is an art and craft blog. Here, we share tutorials as well as craft project ideas and I hope you will like them. Some of the projects include scrapbooks, mini albums, handmade cards, gifts boxes, 3D projects, Mixed media layouts, Photo frames and more.....
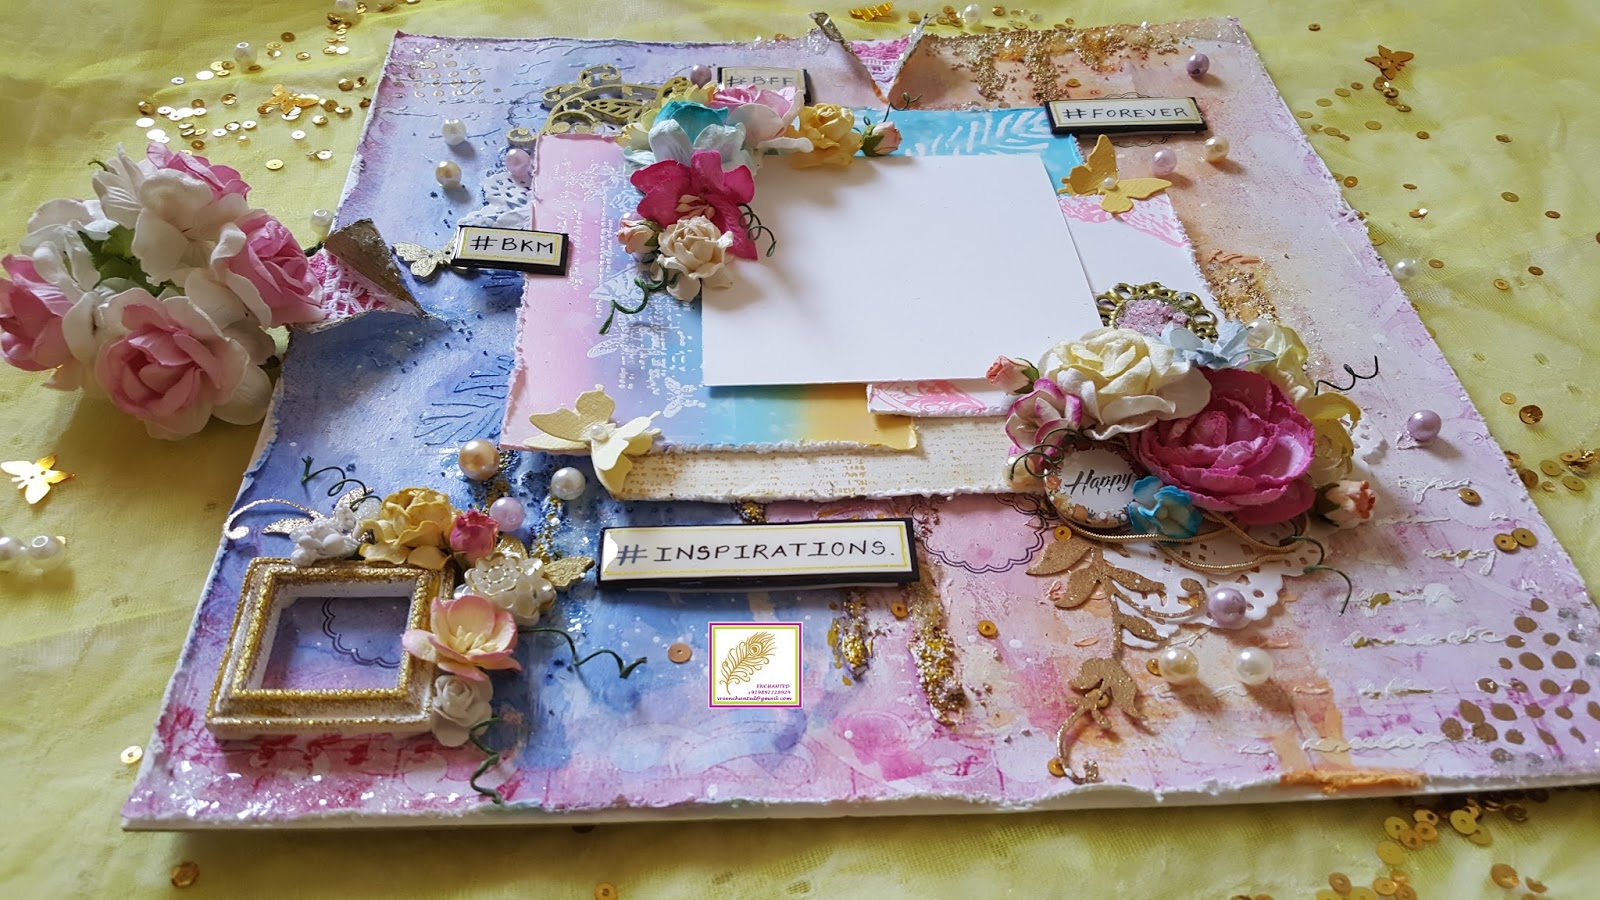
I am back with a new project today and it is a mixed media layout....this one is made to celebrate friendship and I really hope it reflects that...... I have a lot of pictures taken and I hope you guys enjoy it. I am also writing down the procedure and supplies used to make this project. I am entering this project at monthly challenge at Papericious blog- Make it 3D, Itsybitsy challenge, Scrapping4fun challenge #83 and Addicted to stamps.
I started with pattern paper from Papericious Wedding paper pack. I distressed it on the edges using a Tim Holtz distressing tool. Brushed the paper with a coat of white gesso. Allowed it to dry completely and then I did some stenciling on the paper using a feather stencil and a script stencil both from Itsybitsy and some texture paste (Home made by me).
Further to add texture I did some heat embossing using Prima Marketting stamps and Gold Tinsel embossing powder from Ranger. I also stamped at a few places with scallop circle stamp using Black archival ink. Used a little micro beads to add some water dripping effects and a little sand grains like texture at a few places.
Once everything was thoroughly dried, I added Color Splash colors from Itsybitsy....I just used Tangerine and Ocean Mist.
I made my own pattern papers for matting the photo....I have used distress inks and few different stamps to make my own papers. I have distressed the edges of all the pieces to give them more dimension.
The bottom most paper is made by stamping script stamp from Prima Marketing on white Iris cardstock using Rich Cocoa Momento dye ink.
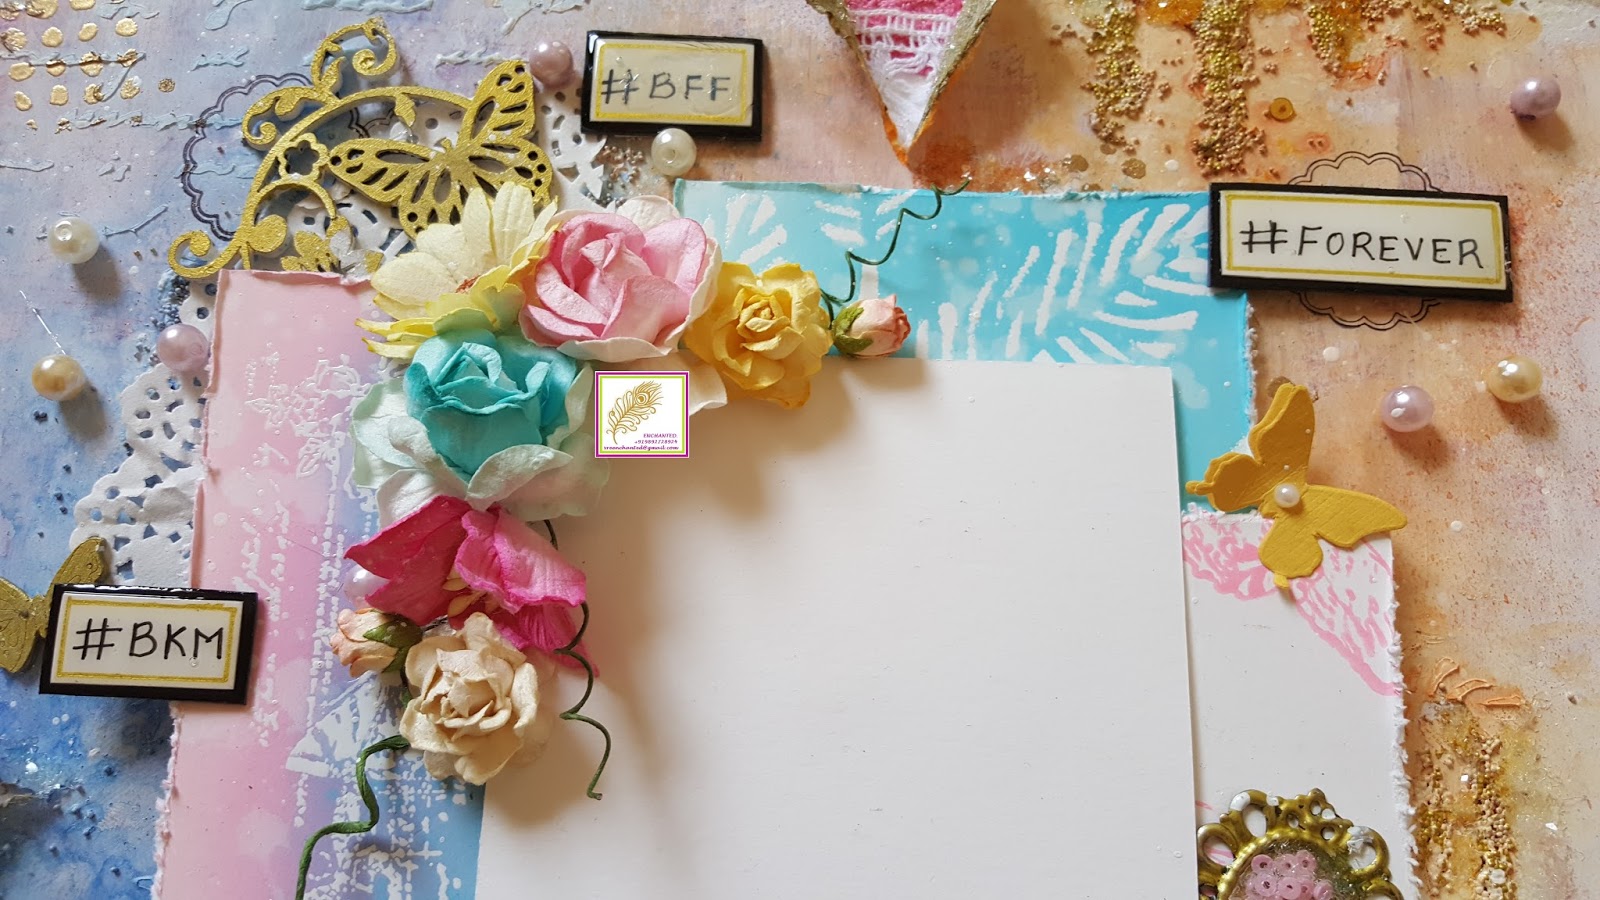
The rainbow effect is obtained by ink blending Squeezed lemonade, mermaid lagoon and Spun sugar on white Iris cardstock. I then heat embossing Kaisercraft stamp Botanical using white embossing power from Ranger.
The butterfly stamp from Kaisercraft is stamped on white iris cardstock using Pink Gumball dye ink from Ranger to get the pink butterfly paper.
The uppermost piece of paper is made by stenciling versamark on white iris cardstock and heat embossing with clear embossing powder from Wow. I then ink blended Mermaid lagoon distress ink on the paper.
I arranged all the pieces of paper on top of each other. I added chipboard pieces in between layers to add dimension.
Then comes the fun part.....embellishments and flowers... i have used doilies, mulberry flowers, Mft flourish diecuts, resin frames and flowers, pearls, mdf butterfly diecut, butterflies and much more.....loved this bit and I throughly enjoyed myself.
Happy button is from Papericious, the little metal embellishment is from Eno greetings, laces and trims are from Itsybitsy and so are many little embellishments used.
The four words are hand written on white iris paper and then distressed on the edges with antique linen distress ink. The words are written with waterproof permanent black pen and then given a edge with gold pen. The words are matted on black chipboard pieces and then coated with glossy accents.
To add the final touches, I have used clear Wink of Stella at a few places as well as some some Twinklets Diamond dust
I am adding a little video of the project where you will be able to see it a littermore closely. However due to bad cold and cough, I do not have an audio walkthrough....I hope you all like this and thank you for visiting me. Have a good week ahead....
I am so in love with these boxes that I just cant stop making them. Another one of these beauties is ready to leave my door...this one is a little different in the sentiment and the ephemera used. I just cant stop admiring them and so I am uploading the pictures of this one...I hope you all will like it as much....
You can refer my earlier post for supplies used to make these gift boxes.Thank you for stopping by and reading this post.
Hey everyone
How are you all doing this week....I am back with a new project today and it is a gift box with 4 pretty tags. Now this gift box is inspired by my earlier project which was Baby Girl Mini Album and Tag Box. Now, I had included a similar box in the project which could hold 12 tags but was very shabby chic and in shades of pink. So, I have tried to replicate the same box but in the shades of turquoise, sea greens, violets and blues. I really loved the outcome of this one and I hope you guys will also like this. I am putting this project up at Scrapping4fun challenge #83.
This box is actually 8 1/4"x 51/4" in size. The internal box is 73/4"x 43/4" with 2"thickness. I have used a lot of mulberry flowers, sequins, Twinklets diamond dust, Glitter, doilies, twines, distress inks, modelling paste, pearls, stencils and laces.
The supplies used for this project are mainly from Itsybitsy. They sent me a free haul and I have used everything they sent me this time because it arrived just at the time of making this and watever they sent me just matched with the project. So here is the list of supplies used for the box: 1 Chipboard (Kraftily Konnect)
2 Turquoise handmade paper (Itsybitsy)
3 White handmade paper (Itsybitsy)
4 Yellow satin ribbon (Itsybitsy)
5 Modelling paste ( Selfmade)
6 Doilies ( A1 craft supply)
7 Silicon glue (Itsybitsy)
8 Pearls (Itsybitsy)
9 Birdcage charm (A1 craft supply)
10 Vellum and other cardstocks (Itsybitsy)
11 Mulberry flowers (Itsybitsy, Nikita more, Kraftily Konnect, A1 craft supply, crafters corner, local stores)
12 Resin flower (The craft shop)
13 Sequins ( local stores)
14 Twinklets diamond dust ( The craft shop)
15 Stencils (Itsybitsy)
16 Distress inks: Peacock feathers, mermaid lagoon, Shaded lilac ( Crafters corner)
17 Glitter (A1 craft supply)
18 Sentiments are from Kaiserkraft (A1 craft supply)
19 Versamark embossing pad and heat gun (Itsybitsy)
20 Black embossing powder: Wow (Itsybitsy)
21 Wink of stella (Itsybitsy)
22 Pattern papers used are from Paperiious and Eno Greetings.
23 White adhesive So here is the list of supplies used for the tags: 1 Mulberry flowers (Itsybitsy, Nikita more, Kraftily Konnect, A1 craft supply, crafters corner, local stores)
2 Stencils (Itsybitsy)
3 Silicon glue (Itsybitsy)
4 Doilies ( A1 craft supply)
5 Stamps and sentiments from Kaiserkraft
6 Twinklets diamond dust ( The craft shop)
7 Cardstocks (Itsybitsy)
8 Crochet lace and satin ribbons (Itsybitsy)
9 Eyelets (Itsybitsy)
10 Flourish diecut from MFT
11 Sequins ( local stores)
12 Ephemera from Eno greetings
13 vellum (Itsybitsy)
14 Handmade flowers (Itsybitsy)
15 Chipboard numbers (Itsybitsy)
16 Distress inks Peacock feathers and shaded lilac
17 modelling paste (Self made)
18 Butterfly diecut( Sizzix)
19 White adhesive
Please grab a cup of coffee or teas as now its time for pictures....and lot of them. At the very end I have added the link for the video walkthrough of this project. There are 2 videos showing first the box and the tags in the seconds. I hope you all will like these videos and pictures.
Youtube video: Part 1
Youtube video: Part 2
I hope you guys liked my project. Thank you all so much for visiting me. Till the next time....keep smiling....
Hello everyone.
Firstly I would want to wish all of you a very happy new year and I hope you guys find love happiness and peace this year. It has been a while for me since I have done a blog post as there was a lot happening on my personal front. I had been doing projects...just didn't find time to write a post and share them with you all.
So lets begin the new year with a beautiful project for a heaven sent bundle of joy....I have made a mini album for a baby girl....its my first and I am really excited to share with you. Now this one is a big album with 8" by 8" as covers and the spine is 4 3/4"....so its a big one for sure.
This album has a fair few tags and lots of journalling spots and can hold over 100 pictures on the mats and you can still tuck a few more in the nooks and crannies of this album. This album is divided into 12 sections and I have made specific monthly tags to fit those 12 special months of a baby's first year. You can also use these tags as baby onesie tags as once done you can continue to treat them as regular jounalling tags. I have added a little space on the back of these tags to write about baby;'s monthly routines.
I have used suppies from Itsybitsy, Papericious, Kaisercraft and the mdf diecuts are from Jasmine Siddhiqui from Kraftily konnect. The collection of ribbons and embellishments at Itsybitsy is just outstanding and I really like working with them. The paper pack used is called Its a Girl which is from Papericious and I must say that the collection is really perfect for making such albums.
All in all...I have loads of pictures I want to share with you all...so sit back and enjoy this interactive mini album.
I am putting this album up at Papericious monthly challenge for December.
This moodboard really inspired me to make a Baby Girl album with loads os shades of pinks and purples with hints of greys and white. I have incorporated roses as well as sequins in my project.
For a more detailed walk through of this album, you can visit my youtube channel to see the video. I am putting the link for the same below.
I hope you liked my project and if you do...please leave me some love. Thank you guys and have a nice day.