Hello guys
I have yet bright and colorful card to bust all the blue mood due to heavy rains in Mumbai........Its raining so heavily since couple of days....I am worried the trains might stop working due to water logging very soon. Today, I was going through some of the photos I took when I was on vacation last month and saw this beautiful Lotus...So pretty and serene. I took inspiration from it and made this card.


I am putting this card up at the following challenges:


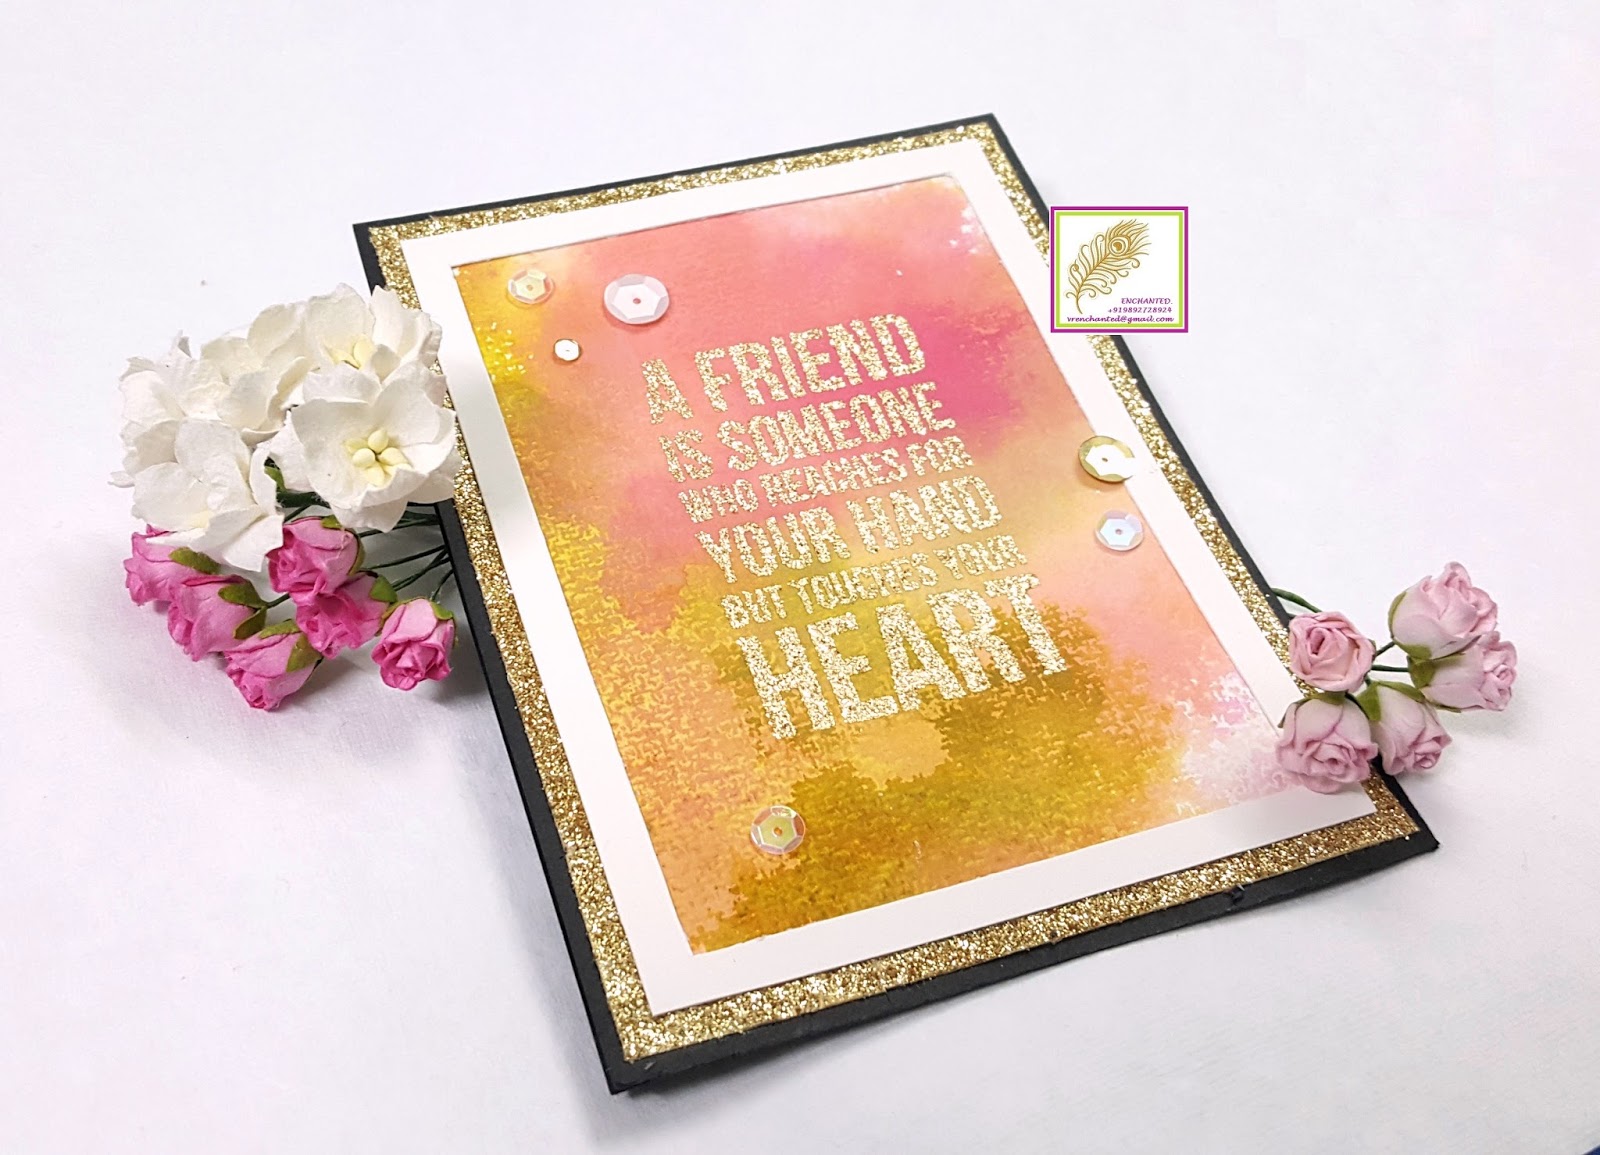
So here is my new card which I have made using the smooshing technique. I have never done this technique before and it was super fun to try something new. For this card, I dabbed Picked Raspberry, Spun Sugar and Twisted Citron on a clear acetate sheet and spritzed it with water. Then I smooshed this onto a watercolor cardstock cut to 4" by 51/4"and then picked the acetate sheet. I didnt have much patience to wait for it to air dry and so I used my heat gun.
 Once everything was dry, I heat embossed the sentiment on the panel using Ranger Tinsel Gold. I made sure to use a anti static powder and it a must before heat embossing. Now, I cut a standard A2 size cardbase from Black Cardstock and added gold glitter cardstock on it which was 1/8" smaller than the cardbase. I then added my panel on this cardbase using strong adhesive as the panel was a little warped due to watercoloring. To add more interest to my card, I added a white frame on my card to make it look like I had framed my sentiment.
 To finish my card, I added some sequins in white, iridescent clear and gold. I have made this card for my BFF as Friendship Day will be coming up next month and just wanted to start making few cards before I got too busy with work.
Supplies used:
I have yet bright and colorful card to bust all the blue mood due to heavy rains in Mumbai........Its raining so heavily since couple of days....I am worried the trains might stop working due to water logging very soon. Today, I was going through some of the photos I took when I was on vacation last month and saw this beautiful Lotus...So pretty and serene. I took inspiration from it and made this card.


- SimonSaysStamp - Monday challenge - Distress it.
- Craft stamper Magazine - Take it Make it July
- Polkadoodles Week#28 - Anything Goes
- The Ribbon Girl - July challenge - Anything Goes
- Addicted to Stamps and more challenge#250 - Photo Inspiration (Got inspired by the colors in this photo)
- Mod Squad challenge - Make the sentiment the main focal point
- YNS color challenge#68 - I have used Pale pink, Bright pink and Green color.
- Color Throwdown #451
- DLART July Linky challenge
- DLART Thankful thursday #208 - anything Goes

So here is my new card which I have made using the smooshing technique. I have never done this technique before and it was super fun to try something new. For this card, I dabbed Picked Raspberry, Spun Sugar and Twisted Citron on a clear acetate sheet and spritzed it with water. Then I smooshed this onto a watercolor cardstock cut to 4" by 51/4"and then picked the acetate sheet. I didnt have much patience to wait for it to air dry and so I used my heat gun.

Supplies used:
- Balck Cardstock (270gsm) - ItsyBitsy
- Gold Glitter Cardstock - ItsyBitsy
- Watercolor cardstock
- Distress inks - Picked Raspberry, Spun Sugar and Twisted Citron - ItsyBitsy
- Sequins
- White cardstock (250gsm) - ItsyBitsy
- Versamark watermark inkpad
- Wow Heat gun
- Ranger multi medium matte
- Ranger heat embossing powder - Tinsel Gold
- Kaisercraft - Best Friends stamp set
- Clear Acetate Sheet - ItsyBitsy
- Anti static powder tool


