Showing posts with label wreath. Show all posts

Monday, 17 December 2018

Christmas Wreath - Rustic

Hello guys
Here I am sharing yet another wreath with you all today. I made this rustic wreath for my friend using burlap and twigs and some handmade ribbon.....so much fun making this. This wreath is 16" in diameter and is quite big and heavy.....its a perfect door embellishment.
To make this wreath, I have used burlap and white lace from ItsyBitsy. The big ribbon bow is made from scratch by me...I painted red and green stripes on white cloth and then glued it on white cardstock to add a little stiffness to it. Once dry, I then made my festive bow. I further embellished it with gold bead chain. I made my own ribbon because I didnt have any I my stash.


I built the center using twigs and wired green berries and finished it all with my bow and a blingy center. Its made using such simple supplies but it looks like a lot of effort has gone into making it. Here are a few more close ups of my festive wreath....hope you all will like this.


I am putting us this wreath at the following blog challenges:-
  1. Crafty Gals Corner Challenge #180 - Anything Christmas Goes
  2. More Mixed Media Challenge - Anything goes optional White
  3. Scrapping4fun Challenge #130 - Christmas
  4. Mix It Up challenge #20 - Anything Goes optional twist no stamping.

Saturday, 15 December 2018

Getting ready for Christmas with a Holiday Wreath.

Hello Hello Hello
Welcome to my blog. I have a Holiday wreath to share with you all today. Christmas is all about gifts and I made this wreath for my friend....I have been wanting to make and send something handmade for his all this time and finally found this perfect opportunity....right after I taught making Rustic Home Decor Wreath at the ItsyBisty Creativity Carnival at Bangalore on 9th Dec, 2018. This wreath is really big and measures 16" in diameter.... so its appropriate for your doors or any other space you wish to decorate.
Now that I am back....here is what I made from my friend....I hope you guys like it too. All the supplies used are from the ItsyBitsy craft store.....and you can buy it all from their physical or online store. I have used a lot of flowers, glitter, wicker balls, paper rope, metal wreath frame, pom pom trim, paper ribbon and sugar pollens to build my wreath, My choice of adhesive is silicon glue which is really cool and adheres well. I had so much fun building this one.

Here are a few more close ups of the floral arrangement....these flowers are such good quality and look so elegant. I hope you all can see the sparkle gold star at the back...which I felt is kinda icing on the cake....my project would have felt incomplete without it.
I am entering this wreath at the following blog challenges
  1. Crafty Gals Corner Challenge #180 - Anything Christmas Goes
  2. More Mixed Media Challenge - Anything goes optional White
  3. Scrapping4fun Challenge #130 - Christmas
Thank You for stopping by..have a fun day ahead.

Tuesday, 7 August 2018

Handmade Birthday Card Tutorial | Shabby Chic | Little Birdie Dies

Hello guys
This is Mukta here and today I have a Shabby Chic Birthday card along with a video tutorial for you all.  I have used the newly launched Thin Cut Dieset called 3D Blooming Wreath from Little Birdie Crafts (Available at ItsyBitsy stores) to make my card.
I am putting up my card at the following challenges:-
  1. Craft Stamper Magazine - Take It Make It August Challenge - Anything Goes
  2. Crafty Calender August Challenge - Dots and /or Stripes - My card has dots which I have stenciled using Sparkle paste.
  3. Cute Card Thursday Challenge #541 - Anything Goes
  4. Create and Makes Challenge #23 - Anything Goes
  5. Scrapping4fun Challenge #121- Anything Goes

The thin cut dies from Little Birdie are  made with the best material to get the finest and cleanest cuts. These are suitable for most die cutting machines including Big Shot, Cuttlebug and Dream Cut Machine. We can use them to create own beautiful designs and embellishments for scrapbooking, card making, journaling, DIY and general crafting projects. They have launched 15 new diesets which will soon be available in their stores.

ItsyBitsy has a massive range of handmade flowers and so I decided to make a floral shabby chic card using some of their newly launched flowers. Along with new flowers, I have also used Sparkle Paste which is again a new launch. Sparkle paste is amazing to use and is available in 12 fun colors.
I have a video tutorial where you can see the entire process and I encourage you all to watch it.

Thank you so much for stopping by...hope you all liked it.

Sunday, 17 December 2017

Christmas Wreath

Hey guys
I made this wreath today and am really excited to share this with you. I used the supplies I had with me and made this in an hour....super easy and fun to make.
I made 3 rosettes using glitter cardstock and kept them ready to be embellished. I started with a 12" chipboard ring and covered it with kraft cardstock. I then wrapped the ring with laces and burlap trims. Thats all to it...I embellished it with the rosettes and 2 chipboard gold embossed leaves. I finished it off with some pollens snuck below the rosettes.
Super easy and fun...I hope you did like it.
I am putting this up at the following blog challenges:-
  1. Scrapping4fun Challenge #105 - Anything Goes
  2. Double D challenge - Its beginning to look a lot like Christmas - Red and White with green
  3. HLS December Mixed Media Challenge - Anything Goes
  4. Word Art Wednesday Week 312-313 - Anything Goes
  5. Try it on Tuesday - Twinkle twinkle - I have used glitter papers in my wreath
  6. The sisterhood of Crafters- All about Christmas
  7. Scrap and Craft Challenge #10 - Anything Christmas
  8. Cute card Thursday- Challenge 508- Festive Colors

List of supplies:-

  1. Chipboard
  2. Kraft cardstock
  3. Glitter medley - glitter cardstock (ItsyBitsy)
  4. Chipboard embellishment (ItsyBitsy)
  5. Stick pollens
  6. Burlac lace (ItsyBitsy)
  7. White lace 
  8. Get matt medium

Saturday, 26 November 2016

Christmas party - event ideas and decoration

Hey everyone
I am back with pictures of an event I did some time ago. it is a Christmas party organised for little kids and I did the decorations for this party. This is a picture heavy post and I have a few pictures of the decorations and the stuff I made for it.


I have made everything from the backdrop to the banners.....christmas wreath to the ornaments on the christmas tree....it was super fun doin all the little things. 
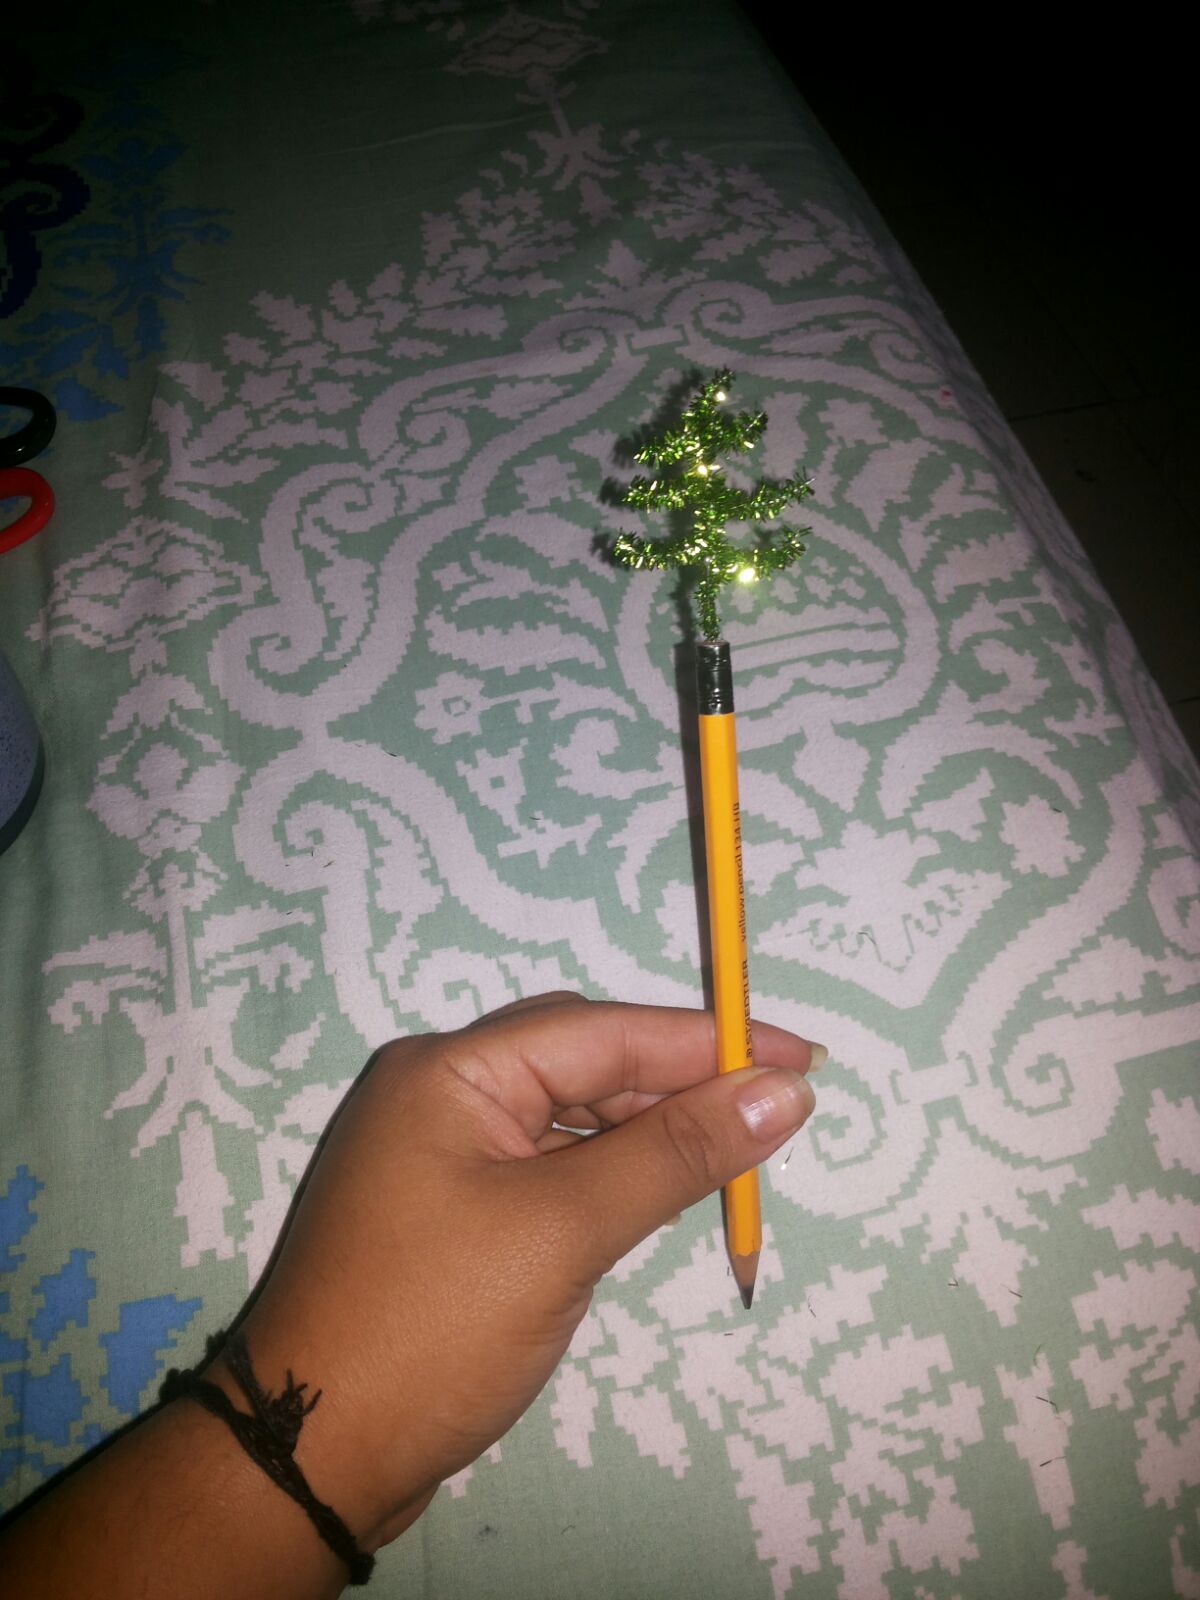
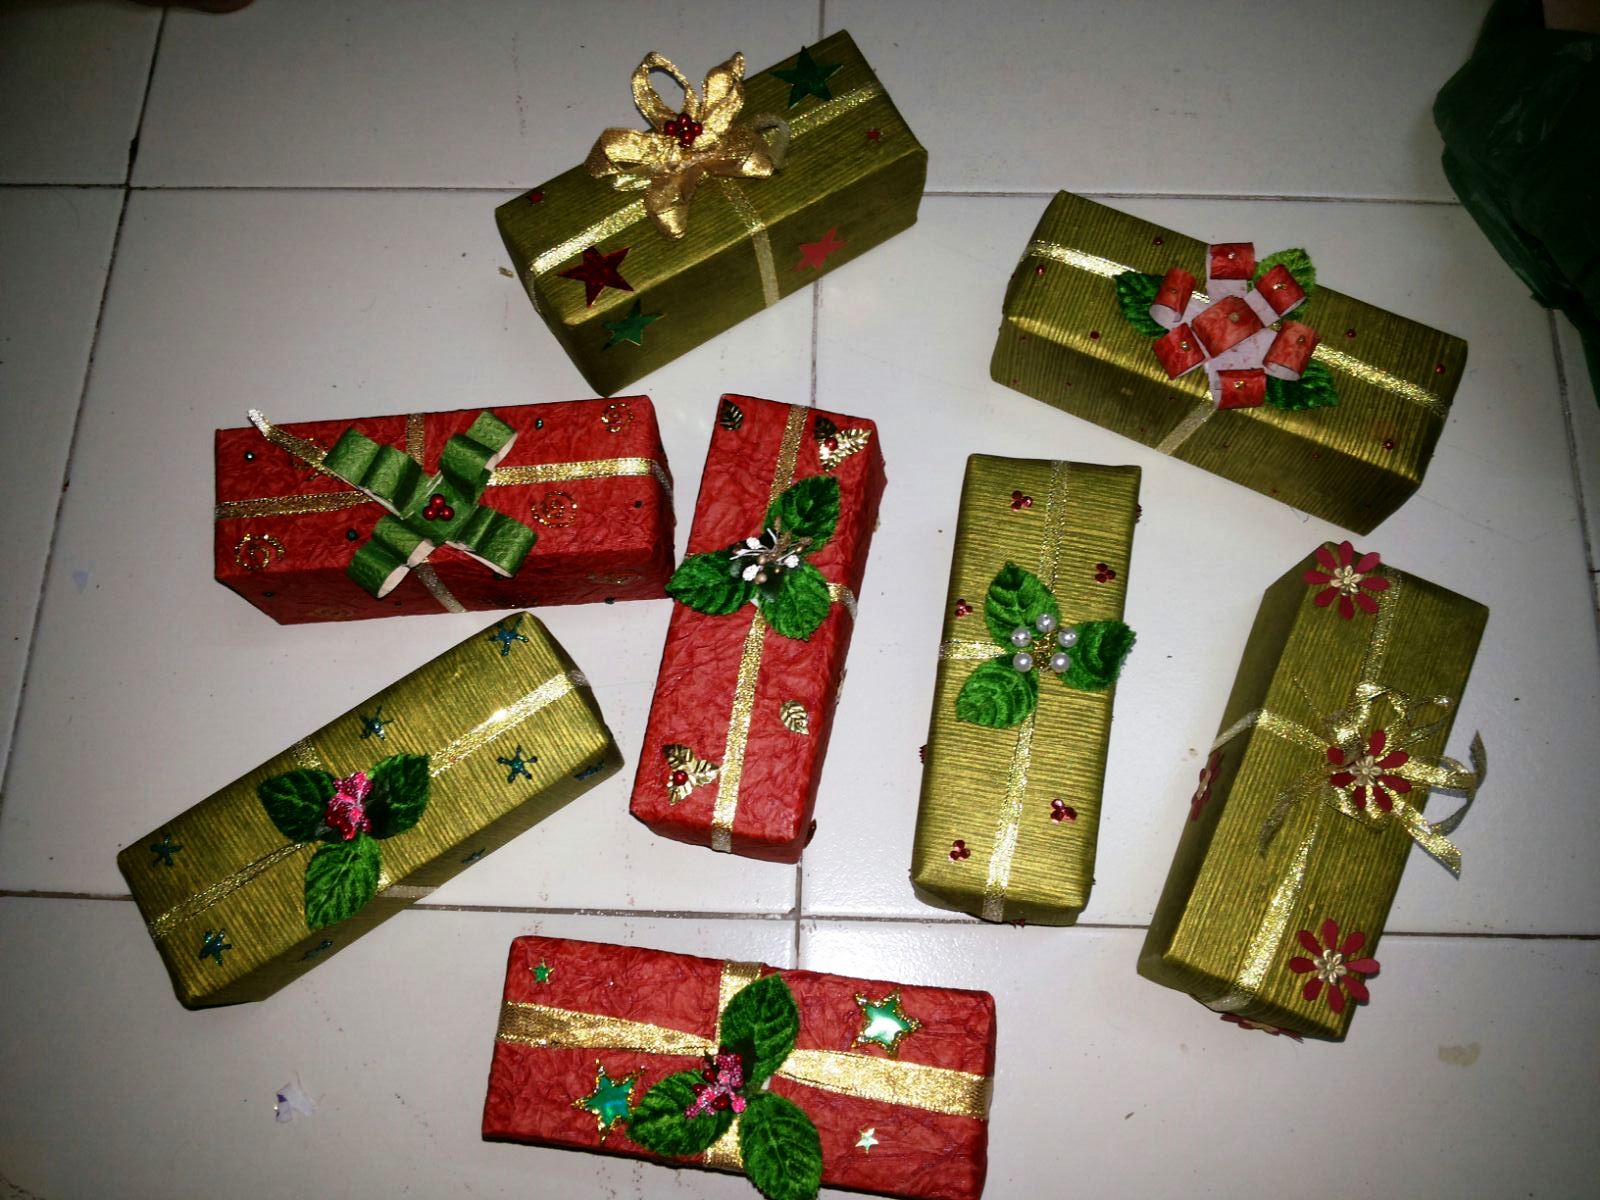
The return gifts were packed in a box and then gift wrapped with some handmade paper and handmade bows. The little pencils with christmas tress as toppers were super fun to make and a favorite among children....they were the party favors.
There is a small video of the Christmas tree which shows all the ornaments and I hope you all will like it.
Thank you for reading my post and I hope you all have a nice day ahead.